1995 F150 4x4 Big Bird Tribute

Junior

Active Member
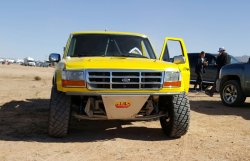
Junior's son Wyatt is a big fan of Dane Cardon's infamous prerunner "Bid Bird". Since Wyatt will be driving in a few years, we have began a project daily driver for him dubbed "BB2" a Big Bird tribute of sorts. Our goal is to getter done by the time he turns 16. It will prove valuable Father/Son time, with a pile of lessons learned during the process. Did this with my oldest Son Jake, turning a badly wrecked Tacoma into a sweet daily driver. This is where I would post a link to that build at my website but Russian Hackers took that site out a while back.

Plan is to post build progress here for all to enjoy.

Starting with a 95 F150 Supercab 4x4 with dual fuel tanks. Unlike my oldest Son's project this truck is in pretty good shape but has over 260,000 miles on it. The plan is to build a reliable truck that Wyatt can drive with confidence for many many years. Below is an image of Wyatt standing next to the truck, it was his birthday present.
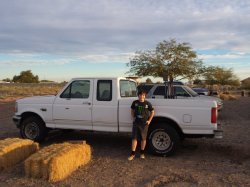
Proud Owner.jpg
 

Junior

Active Member
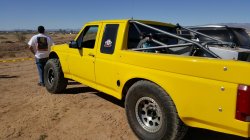
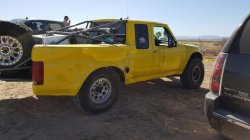
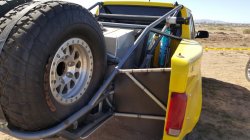
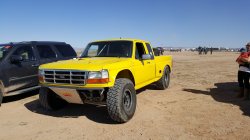
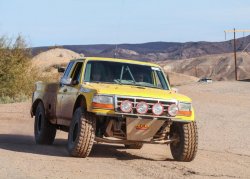
For those you who have never heard of Big Bird, here is a few pics of Dane's truck at Parker a year ago. The truck was featured in an off-road magazine spread titled "Drool Factor 10" if I remember correctly. Junior would post a link to that article here but couldn't find it.

Real BB 2.jpg Real BB 3.jpg Real BB 4.jpg Real BB 5.jpg Real BB.jpg
 
Last edited:

Junior

Active Member
Remember when I first took a look at the original Big Bird. The features that stood out to me most was the bright yellow paint, the swing set steering and the low stance.
Big Bird 1.jpg
 

Junior

Active Member
Our overall plan is to move from bumper to bumper on this truck replacing/refurbishing everything in between with sprinkles of performance here and there. Junior's commitment is to get his son a reliable daily driver, in OEM form. As with Jake, the performance items will have to be financed by Wyatt. Funding will come from Wyatt selling his sweat as well as raising and auctioning off a 4H hog here and there. He has banked a couple hogs already, we are set to go.

Going in here is the plan besides the obvious
  • Rebuild or replace the engine
  • Remove OEM rear and replace with a locker equipped, trussed 9 inch.
  • Deaver leafs.
  • Bedcage designed to not only to provide upper shock mounts but mounts for his dirtbike/spare etc.
  • Cut/turned widened TTB front with hoops and coilovers.
  • Glass fenders and bedsides.
  • Upgrade to 5/8 wheel studs.
  • Set up to run 35's.
  • New interior/carpet with custom console for switches, audio/video and sub woofer.
Should be fun.

Junior
 
Last edited:

Junior

Active Member
We were told that BB2 ran but had been sitting...before attempting to crank her over, we sniffed the fuel fillers and immediately decided we wouldn't even attempt it before addressing the rotten fuel in the tanks. Figured that pumping the system full of rotten gas would not be the best way to start. Addressing the fuel system is where we have decided to start.

Stay tuned and remember, Junior has a full time job and a life outside this project. Progress will be made on weekends and evenings as time and money allows.

Junior
 

Junior

Active Member
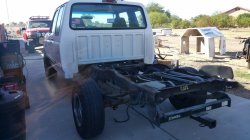
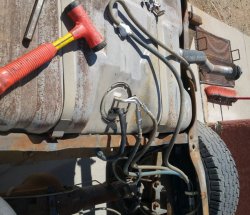
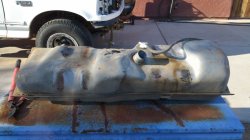
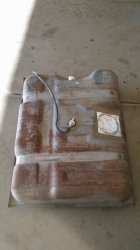
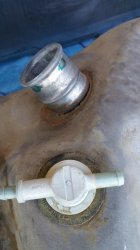
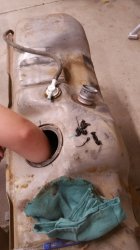
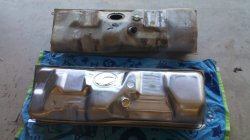
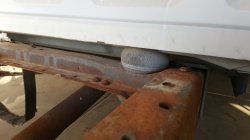
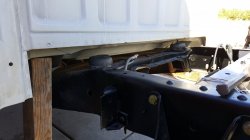
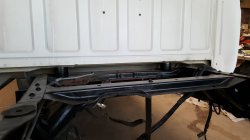
So we removed the bed to get to the fuel tanks. The first thing we noticed is that both tanks were vented from the factory using an open ended fuel hose laying on top of each tank just under the bed. This would have to be addressed no doubt. Both tanks were rusty and the midship tank appeared to have a serious crack around the filler neck.

BB rear after tanks removed.jpg Rear tank before.jpg Midship tank.jpg Rear tank before paint.jpg
 

Junior

Active Member
Midship tank neck cracked.jpg The midship tank appears to have been abandoned. The fuel pump didn't have a screen, or a float and the only contents inside was a mysterious black goo. Much like toothpaste. We had considered repairing the filler neck but removal of the black goo was so difficult we decided to replace the tank.
 
Last edited:

Junior

Active Member
Check out the goo...could this be the residue of several gallons of fuel that had been sitting for years?Midship tank cleaning.jpg
 
Last edited:

Junior

Active Member
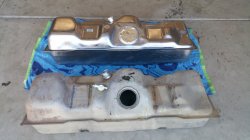
Midship tank new vs old 2.jpg Midship tank new vs old.jpg Out with the old and in with the new. We sealed up the openings for paint. We brushed the rust off the rear tank, scrubbed out the inside and sealed it for paint as well.
 
Last edited:

Junior

Active Member
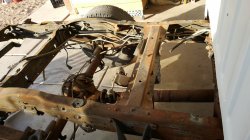
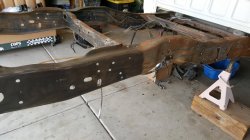
After paint we installed new fuel pumps in each tank and set them aside. We need to address the nasty rusty chassis. Would have liked to replace the fuel sending units but those things were crazy expensive. We'll wait to see if the original units work and replace only if necessary. How can the senders cost as much or more than the fuel pumps? Maybe we can get the chassis cleaned up this weekend.
 

Junior

Active Member
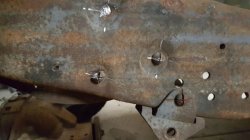
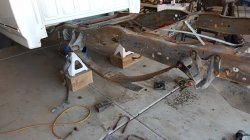
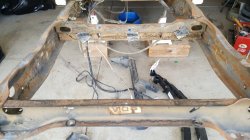
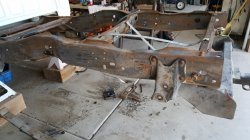
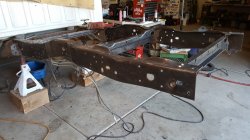
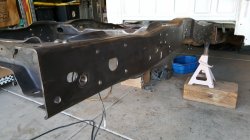
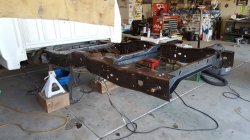
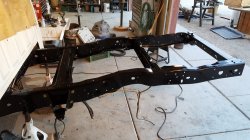
We made some progress on the chassis. Since we are looking to change the stock leaf spring pivot points, we needed to remove the shackle hangar in the rear and the front leaf spring pivot point, as well as loads of other brackets riveted to the frame. Junior learned long ago how best to remove these rivets. What you do is cut a plus sign in the rivet head, then use a chisel to remove each of the four "pie slices" one at a time.

Rivot Removal.jpg
 
Last edited:

Junior

Active Member
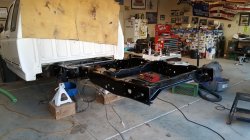
Apply a little paint and the effort suddenly seems worthwhile!

You can see that we had already bolted up the new front leaf spring pivot points. Couldn't wait. Those spring hangars were purchased new for about $20 each. OEM parts for a two wheel drive version of this truck. More on that later when we attack the rear suspension.


Chassis paint 1.jpg Chassis paint 2.jpg
 

Junior

Active Member
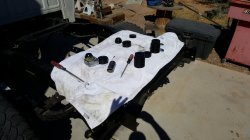
The cost of a complete new set was very reasonable. Since the truck is a daily driver with some off-road use expected (understatement) we chose to go with Energy suspension units. He is the set we got from Off Road Warehouse, our go to shop for everything off-road. As you can see, we used a piece of tubing and a huge flat washer to build a tool necessary to assist with OEM mount removal. BM Parts.jpg
 

Junior

Active Member
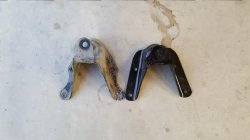
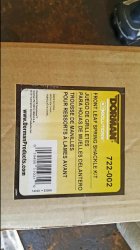
Time to hit the rear suspension system. As mentioned before, we replaced the front leaf spring pivot mounts with OEM replacements for a 4x2 truck. The pivot point on the 4x2 is an inch higher than the 4x4 which translates to lowering the truck an inch. The Q80 Deaver leafs are expected to lift the ride height about four inches and we wanted to help overcome that. Big Bird is known for a low stance. Another reason to make the change is that most performance leafs are 2.5 inches wide. Ford used 3 inch wide leafs on the 4x4 version of these F150's. In order to use the Q80's we would have to install spacers or shims to make up for the difference in width. Not necessary now because the OEM 4x2 front leaf hangars are made for the 2.5 inch wide leafs. Here is an image of the front spring hangars we used compared to the original. Front Leaf Pivot.jpg Front Leaf Pivot Info (Small).jpg
 
Last edited:
Top