You are using an out of date browser. It may not display this or other websites correctly.
You should upgrade or use an alternative browser.
You should upgrade or use an alternative browser.
1995 F150 4x4 Big Bird Tribute
- Thread starter Junior
- Start date
Junior
Active Member
Junior
Active Member
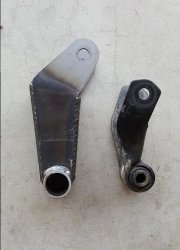
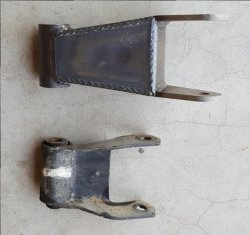
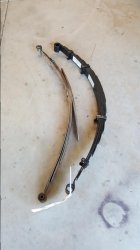
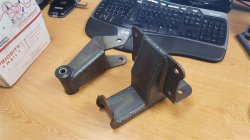
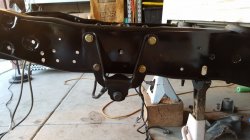
Check out the progressive bumps. Due to the lift and travel of the new suspension, cycling revealed we had to move the bump back a bit. We did this with the bump extension. Extensive cycling the system ensured that this re-located bump at full squish kept the leafs from achieving the dreaded negative arch that can kill a set of leafs in no time.
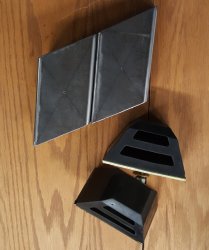
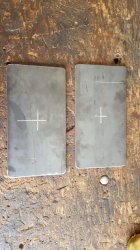
Wyatt wanted to add strength, reduced weight and pulled more chicks with these bump stop extensions so we hit up our buddy "Chuck of the North" to implement a few dimples!
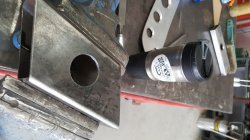
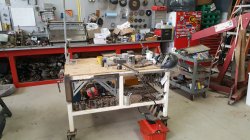
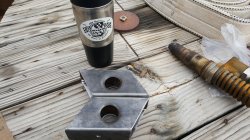
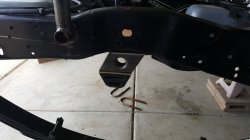

Wyatt wanted to add strength, reduced weight and pulled more chicks with these bump stop extensions so we hit up our buddy "Chuck of the North" to implement a few dimples!


Junior
Active Member
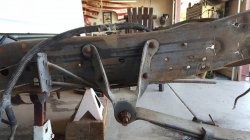
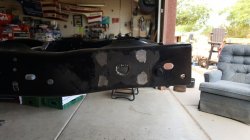
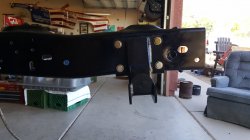
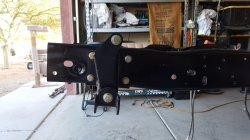
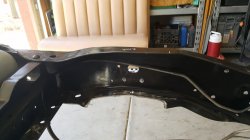
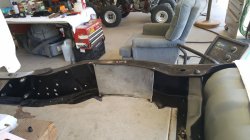
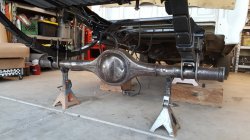
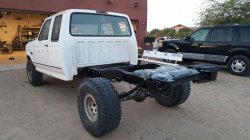
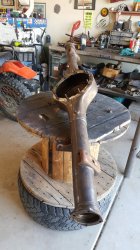
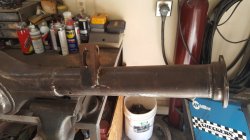
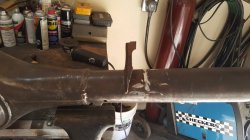
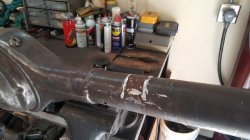
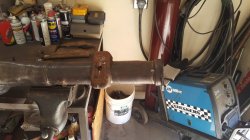
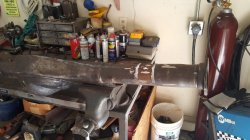
Time to get Big Bird 2 (BB2) rolling on its own feet. We kicked the stock 8.8 axle to the curb and are pushing in the standard of the prerunner industry a Ford 9 inch. We'll use the third member with 4.11 gears and a locker out of Junior's Bronco Prerunner along with a housing out of a 1984 F150 donor truck. First we had to clean up the housing removing OEM brackets and spring perches.


Junior
Active Member
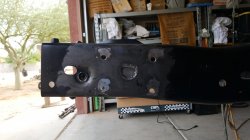
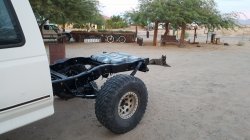
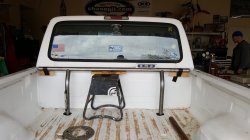
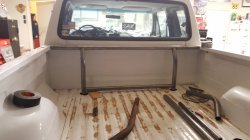
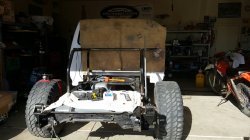
Next up is the bedcage. Our plan is to construct a bedcage that not only acts as mounts for our shocks and the spare but provides for holding Wyatt's dirtbike in place with ease and maybe even some secure place to put a couple of fuel jugs. In order to allow for maximum width between the runners, we built off the side of the frame rails being careful not to interfere with the leafs at full smash. (part of the cycling process) First the mounts....
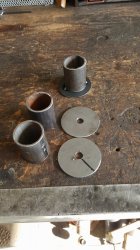
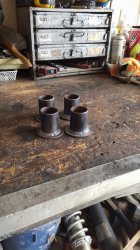
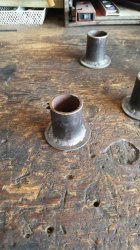


Junior
Active Member
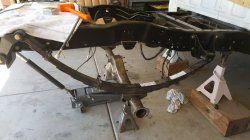
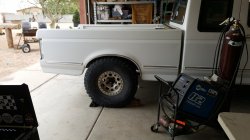
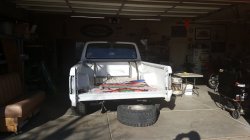
You will notice that the bed is on and off, and the spring pack is full then only a couple leafs throughout the progress of this build. Doing it right required that we remove and replace the bed constantly it seems. Most important thought is cycling everything, measure and cycle again. Lots of work but pays off in the end with no questions as to how things will work when finished.
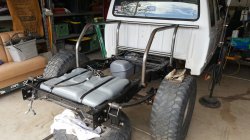
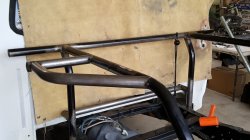
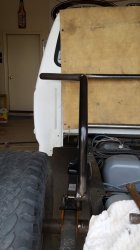
You can see the lower shock mounts we installed as part of the leaf clamp down dealio. We will need this to help determine the location of the upper shock mount on the bedcage. Under the two leafs you can see a block of wood (appears white) necessary to simulate the full width of the leaf pack for cycling purposes. Almost impossible to cycle an assembled pack so it has to be stripped down to just a couple leafs.
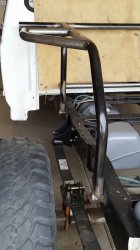
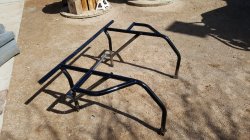


You can see the lower shock mounts we installed as part of the leaf clamp down dealio. We will need this to help determine the location of the upper shock mount on the bedcage. Under the two leafs you can see a block of wood (appears white) necessary to simulate the full width of the leaf pack for cycling purposes. Almost impossible to cycle an assembled pack so it has to be stripped down to just a couple leafs.


Junior
Active Member
We used a piece of electrical conduit to help us determine the upper shock mount location along the bedcage rail. We drilled a hole in one end of the conduit and bolted it into the lower shock mount position, found what we wanted then drilled the tube and inserted a mounting bung of sorts tapered for this purpose.
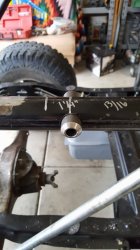
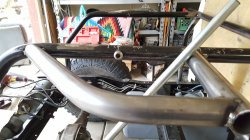


Junior
Active Member
Now for the tricky part...locating exactly where to cut the bed open for the rear shock to come through. We only want to remove material necessary so this is how we did it. First we took that piece of conduit and mounted it to the top mount and cut it little by little until it appeared at a careful glance to point right at the lower shock mount, then marked where it was meeting the bed.
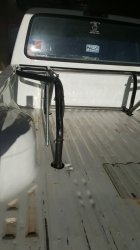
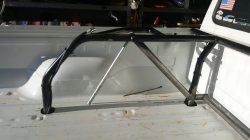
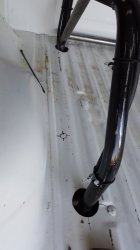
After we cut the hole in the bed, we ran a bungy cord between the upper and lower mount. The cord ran right through the middle of the hole. A miracle! Figured we would have to trim it a bit a least. Of course when we get to mounting the shocks we will have to expand this hole as needed.
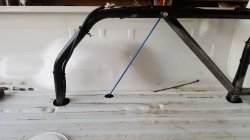


After we cut the hole in the bed, we ran a bungy cord between the upper and lower mount. The cord ran right through the middle of the hole. A miracle! Figured we would have to trim it a bit a least. Of course when we get to mounting the shocks we will have to expand this hole as needed.

Junior
Active Member
Since we had to take the bed on and off a couple dozen times during this process, we took the opportunity to finish up the restore and reinstall of the fuel storage and pumping system. The tanks looked sweet after we painted them, installed the new pumps and got them back into the chassis....
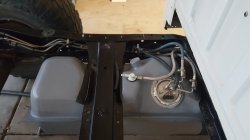
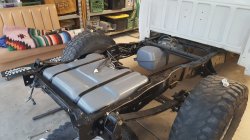
We had to put fuel inside the tanks after install to ensure pumps were functional and to provide weight to help with cycling and to give us proper ride height for locating the spring perches. We set them at very close to OEM pinion angle.


We had to put fuel inside the tanks after install to ensure pumps were functional and to provide weight to help with cycling and to give us proper ride height for locating the spring perches. We set them at very close to OEM pinion angle.
Junior
Active Member
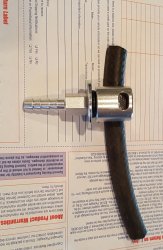
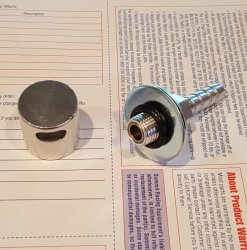
We were a bit shocked to learn during tear down the the OEM fuel system allowed for tank venting by using a fuel hose strapped on top of the tank, completely open ended, no filter or anything. We purchased these cool screened vents for each tank. We will run the vent hoses up the bedcage a bit to keep it in the fresh air. These are designed to be used with a tab. No check ball is necessary, the OEM tank venting plug has a roll-over valve already. Going to use these to vent the front and rear diff as well.


Junior
Active Member
Access to OEM in-tank fuel pumps is impossible without removing the bed. Thinking ahead, we cut out an access hole so we can at least get to the rear tank pump. Not possible to do this with the midship tank due to its location.
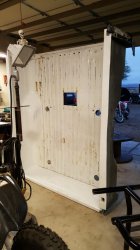
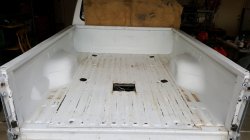
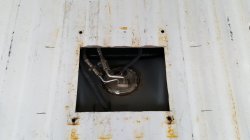
As an access door, we used a piece of bed from another truck. Always keep donor truck stuff around, no matter how much your wife disagrees!
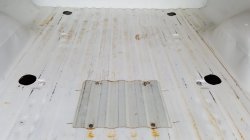


As an access door, we used a piece of bed from another truck. Always keep donor truck stuff around, no matter how much your wife disagrees!


